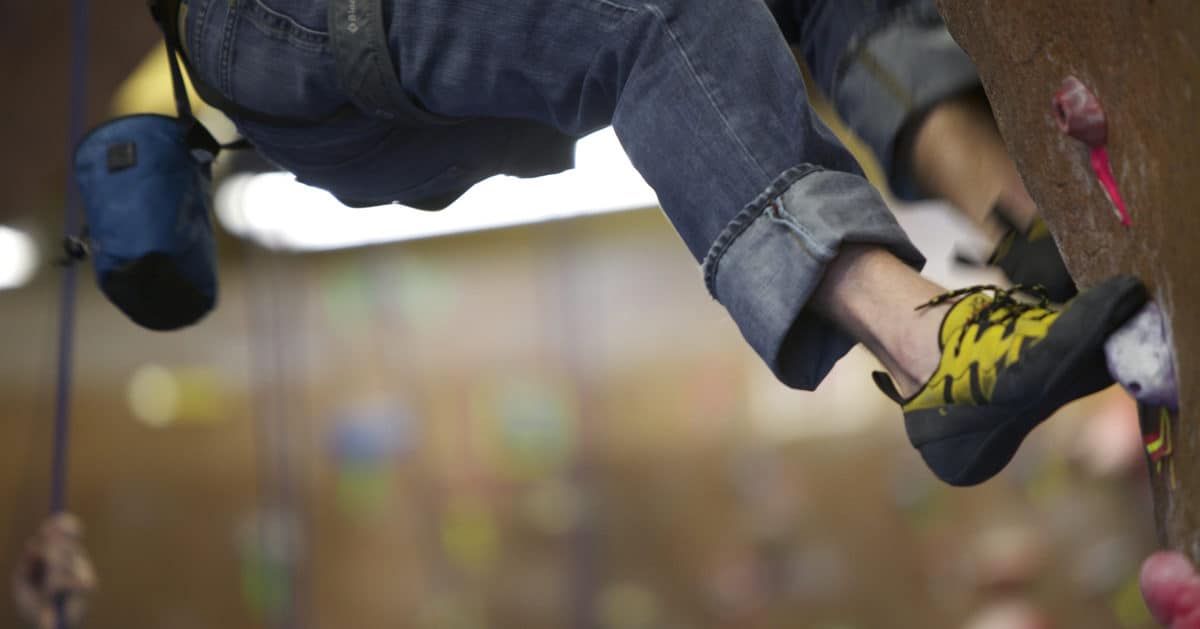
Fall Photo Contest!

WIN A FREE MONTH OF MEMBERSHIP WITH OUR FALL PHOTO CONTEST!

From now through October 31 tag #riverrockclimbing AND #riverrockphotocontest on instagram, twitter, or facebook on your best climbing photos taken during this time frame. We want fun, we want awesome, we want anything you’ve got! Enter as many times as you want (the more you enter the better chance you have to win!). We’ll choose our favorite gym photo and outside photo.

By submitting a photo you give us the right to share it on our social media accounts, website, and in advertising. We’ll announce the winners the first week of November. If you are a current EFT member and win we will not bill you for the month of November.

Hiking in the Chills

Just because the sum­mer is behind us doesn’t mean that hik­ing should be post­poned until next year ― but if you plan to set foot in the wilder­ness this fall, it’s wise to pre­pare for precipitation.

First things first: update your wardrobe. Your torso and legs should be cov­ered with a mate­r­ial that will keep you dry and warm, as well as stave off hypother­mia if the tem­per­a­ture really drops. In other words, forego shirts, pants, and other gar­ments made from cot­ton, wool, silk, or synethic fab­rics like fleece. Instead, try this three-layer cloth­ing formula:


Wick­ing

Your first (or base) layer should con­sist of a thin, long-sleeved shirt, long leg cov­er­ings, and socks. For the first two, many pre­fer polypropy­lene because it removes (or ‘wicks’) mois­ture from per­spi­ra­tion and leaves your body dry; poly­ester has also been known to work. For socks, poly­ester or nylon effec­tively wick the mois­ture away ― but for added pro­tec­tion against blis­ters, a sec­ondary layer of wool socks is also recommended.

Insu­la­tion

Your mid­dle layer should, in the­ory, keep your body warm regard­less of how low the tem­per­a­ture is out­side. Whether you are inclined to wear a vest or full jacket, micro-fleece effec­tively traps body heat and helps you remain toasty with­out feel­ing over­cooked. If it’s espe­cially nippy, a pair of fleece mit­tens or gloves will keep your dig­its warm. A sturdy, depend­able hat is also essen­tial ― but if it’s rain­ing, you may want to forego the cot­ton base­ball cap and wear a beanie instead.

Wind­proof­ing

Your out­er­most layer should con­sist of two items: nylon pants (tear-away tend to be the most con­ve­nient) and a shell for your jacket. Both of these gar­ments should be made from a water­proof mate­r­ial. If you have a bulky pack, it might be wise to wear a larger upper-body gar­ment, such as a pon­cho, to keep your stuff from get­ting wet.

As far as footwear goes, Appalachian Mountain Club suggests pur­chas­ing a pair of sturdy, water­proof boots with fab­ric uppers. For added mois­ture pro­tec­tion, you can fill the seams with shoe grease; sprays are also avail­able. And it might be wise to wear gaiters, as well. They’re fairly effec­tive at keep­ing rain, mud, and dirt from enter­ing your boots.

Finally, it should also be noted that it’s impor­tant to hike at a steady, slower-than-usual when the rain starts to fall on warm days. The mois­ture will actu­ally make your body colder if you’re mov­ing too quickly. So stay warm, and stay safe!

Any personal tips?

//Originally posted on The Clymb

The Anatomy of a Dyno

A properly executed dyno, like many things in life, is an art and a science. (For the uninitiated, a dyno is the act of dynamically leaping from one spot on the wall to another.) It’s a stunt people love to gawk at and throw themselves at (literally), but one that few can do properly. Of course, every dyno is a little different, but each boils down to a few essentials: foot position + leg propulsion + hip alignment + monkey arms. That’s the science part — easy to identify and analyze. The art factor is the far more variable, far less tangible mindset that plays into the act. Let’s take a step-by-step look at each factor of a basic dyno.


Visualize the 45-degree wall at the gym. Now imagine a jug (a big, easy to grip hold) a quarter of the way from the floor. You grip the jug firmly with both hands and lift your feet off the ground to place them naturally onto two footholds. Your knees are bent (if you weren’t on the wall, you’d be squatting), and your arms are locked straight. You’re dangling by those monkey arms and you feel pretty comfortable: your body is now in the proper position. Now pick out your target. Imagine in this case it’s about three-and-a-half feet above the hold you have your hands on–or about four-and-a-half feet from the crown of your head. You’re staring it down, you already know how hard you’re going to have to push with your legs to get there, and you know how you’re going to grab hold of it once you’re up. Now assume the proper mindset. The exact makeup of this attitude differs from person to person, but usually it goes something like this: “Once I start going, I’m going all the way.” It’s the eradication of fear and what-ifs. It’s difficult to describe, but you’ll know it when you try.

So your body and mind are ready, now it’s time to go. Make sure your grip is rock solid. Get a little bounce going if you feel like it’s necessary, but don’t overdo it or you’ll psych yourself out. The moment that you start going, the mindset is everything. You have to decide right away that you’re going to commit. And if you wait too long and miss your chance, you’ve already failed. So mentally commit, and follow through. A dyno is very much a two-part process: lower body and upper body–in that order. It begins at your feet with their touch on the holds below. Your ankles are shifting simultaneously as you’re knees are beginning to open up. This is your propulsion. It’s just like you’re jumping from the ground, although this time you have your hands to guide you upwards. So your legs have to be in sync with your arms, and this is where hip alignment comes in… Keep it straight, and try to keep close to the wall. It matters. Because no matter how high you get, if you’re falling away from the wall because you weren’t close enough, then it’s very hard to succeed. You’ll know when to let go of that hold with your hands when it’s time, but it’s usually when it serves you no further purpose to continue holding it. Like I said, you’ll know.

There’s a moment where you feel like you’re flying…

And then you’re back on the wall. Game time for your upper body now. That hold you targeted before? Yeah, it’s time to grab that sucker. And grab it good and strong because gravity is going to catch up with you very quickly. If you can keep your hold, then congratulations–you’ve done it. Some routes continue on after a dyno, while others end with a dyno.

Some dynos make you ascend diagonally, while others direct you perfectly to the side. With others, you’ll be jumping backwards–from one wall to another. Some are easier and more natural feeling, while others seem to be a total reach (pun intended). Bottom line: there’s lots to try and tons to work on.

I hope I’ve helped to break down any barrier of fear that you may have mentally had towards the thought of doing something so dynamic. The rush of elation you get when you complete a dyno is incomparable in climbing, and I hope you’re inspired to try one yourself now.

TIP: It never hurts to have a partner ready to help out below. They won’t catch you (or at least they’re not supposed to), but should you fall, they’ll help guide you properly back to the ground so you don’t injure yourself on impact. The partner should be mindful to not stand directly beneath where the move will be taking place.

EYE CANDY: to get you pumped… watch this.

Review: Great Smoky Mountains National Park

Intro

One of the great mountain ranges on the eastern seaboard, the Smokies are truly a sight to behold. They offer far more than sights, though… With over 200 miles of streams, dripping green jungle-like forests (there are more types of plant life in the park than in the entire continent of Europe!), a black bear density of approximately two per square mile, about a dozen waterfalls, 800 miles of hiking trails, 67 species of fish, dozens of campgrounds, and one of the most complex, diverse biospheres in the country, the Smokies offer a truly immersive experience in the raw outdoors.


 The Mountains

Peaks like Clingman’s Dome, Mt. Collins, Mt. Kephart, Charlie’s Bunion, Tri-Corner Knob, Mt. Guyot, and Old Black all rise above the 6000’ ft mark and are traversed for more than 70 miles by the Appalachian Trail. In fact, there are over two dozen peaks that rise above the 6000’ mark, and far more rise above the 5000’ mark. Some do not have trails leading to the summits, but the highest (and most popular ones) do. The mountain range divides Tennessee and North Carolina.

Things to Do

Like most national parks, activities you can pursue in the Smokies include just about every and any outdoor staple you could think of: camping, hiking, rock climbing, swimming, fishing, biking, picnicking, horseback riding, and what I simply call “waterfalling.”

 Proximity

Asides from Shenandoah, the Smokies are the closest National Park to Roanoke at approximately 4.5 hours away (via the I-81), making them a perfect end-of-summer retreat. Or, you could wait a few weeks and visit them when Fall colors are in full bloom. The great thing about this park, though, is that its enjoyable year-round, no matter which season you visit it in.

 Final Words

Beware, though: the surrounding cities of Pigeon Forge and Gatlinburg are absolute tourist traps–particularly in the summer months. Pigeon Forge is largely an extravagant Las Vegas-like fairground lining the road. Gatlinburg exists in a similar vein, although it feels more dense because of the greater pedestrian foot traffic. If you’re the type of person who enjoys truly bizarre roadside attractions everywhere you look, then these are great places to go. If–like me–you’re not, then don’t let this deter you from the wonder of the Smoky Mountains that loom just beyond civilization.


Enjoyment: 4/5

Difficulty: depends on activity – can range from 1/5 to 5/5

Bring: depends on activities – a good, versatile starting point includes hiking shoes, swim trunks, snacks, portable trash bags, a good backpack or two, and water bottles

Price: depends on activities, duration of stay, and where you stay – ranges from free (excluding cost of gas) to several hundred
 

Review: Crabtree Falls

I have a weakness for waterfalls… But then again, who doesn’t? I can think of little else that has such natural, raw beauty. And, better yet, they’re so consistently beautiful. Big or little, wide or narrow, tall or short, all succeed in effortlessly capturing silenced awe from onlookers.


Crabtree Falls in the George Washington National Forest certainly did not disappoint. At an easy hour-and-a-half drive North of Roanoke, the trip makes for an excellent half-day trip. The hike itself is not overly strenuous–only 1.7 miles. The fantastic thing about the hike is that it’s constantly rewarding. The trail zigzags up the mountainside, always bringing you back to the stream. There are a total of five waterfalls, as well as multiple overlooks for several of them. Almost every overlook also has an off-trail access point for you to get up close and personal with the cascading water. Unfortunately, unlike many other falls I’ve been to, these did not have very large pools at the bases. So there’s really not much of an opportunity for swimming.


Concerning the stone foundation of the cascades, this is a rare instance in which I do not condone rock climbing. The falls can be treacherous–28 people have died as a result of getting a little too close to the peaks–so do not underestimate them. That said, I was able to do everything I wanted to do without ever putting myself in mortal danger. If you can’t accept the idea of going outside without climbing something, then there are actually a few boulders sporadically placed alongside the trail–well out of the stream’s reach so feel free to climb those if you must.


All in all, between the plethora of falls, the boulders, and the truly awesome vista at the end of the marked trail, this little outing was one that definitely inspired me.


Enjoyment: 3/5

Difficulty: 2/5

Recommended: Yes

Bring: Water, snacks/lunch, waterproof hiking boots, small towel